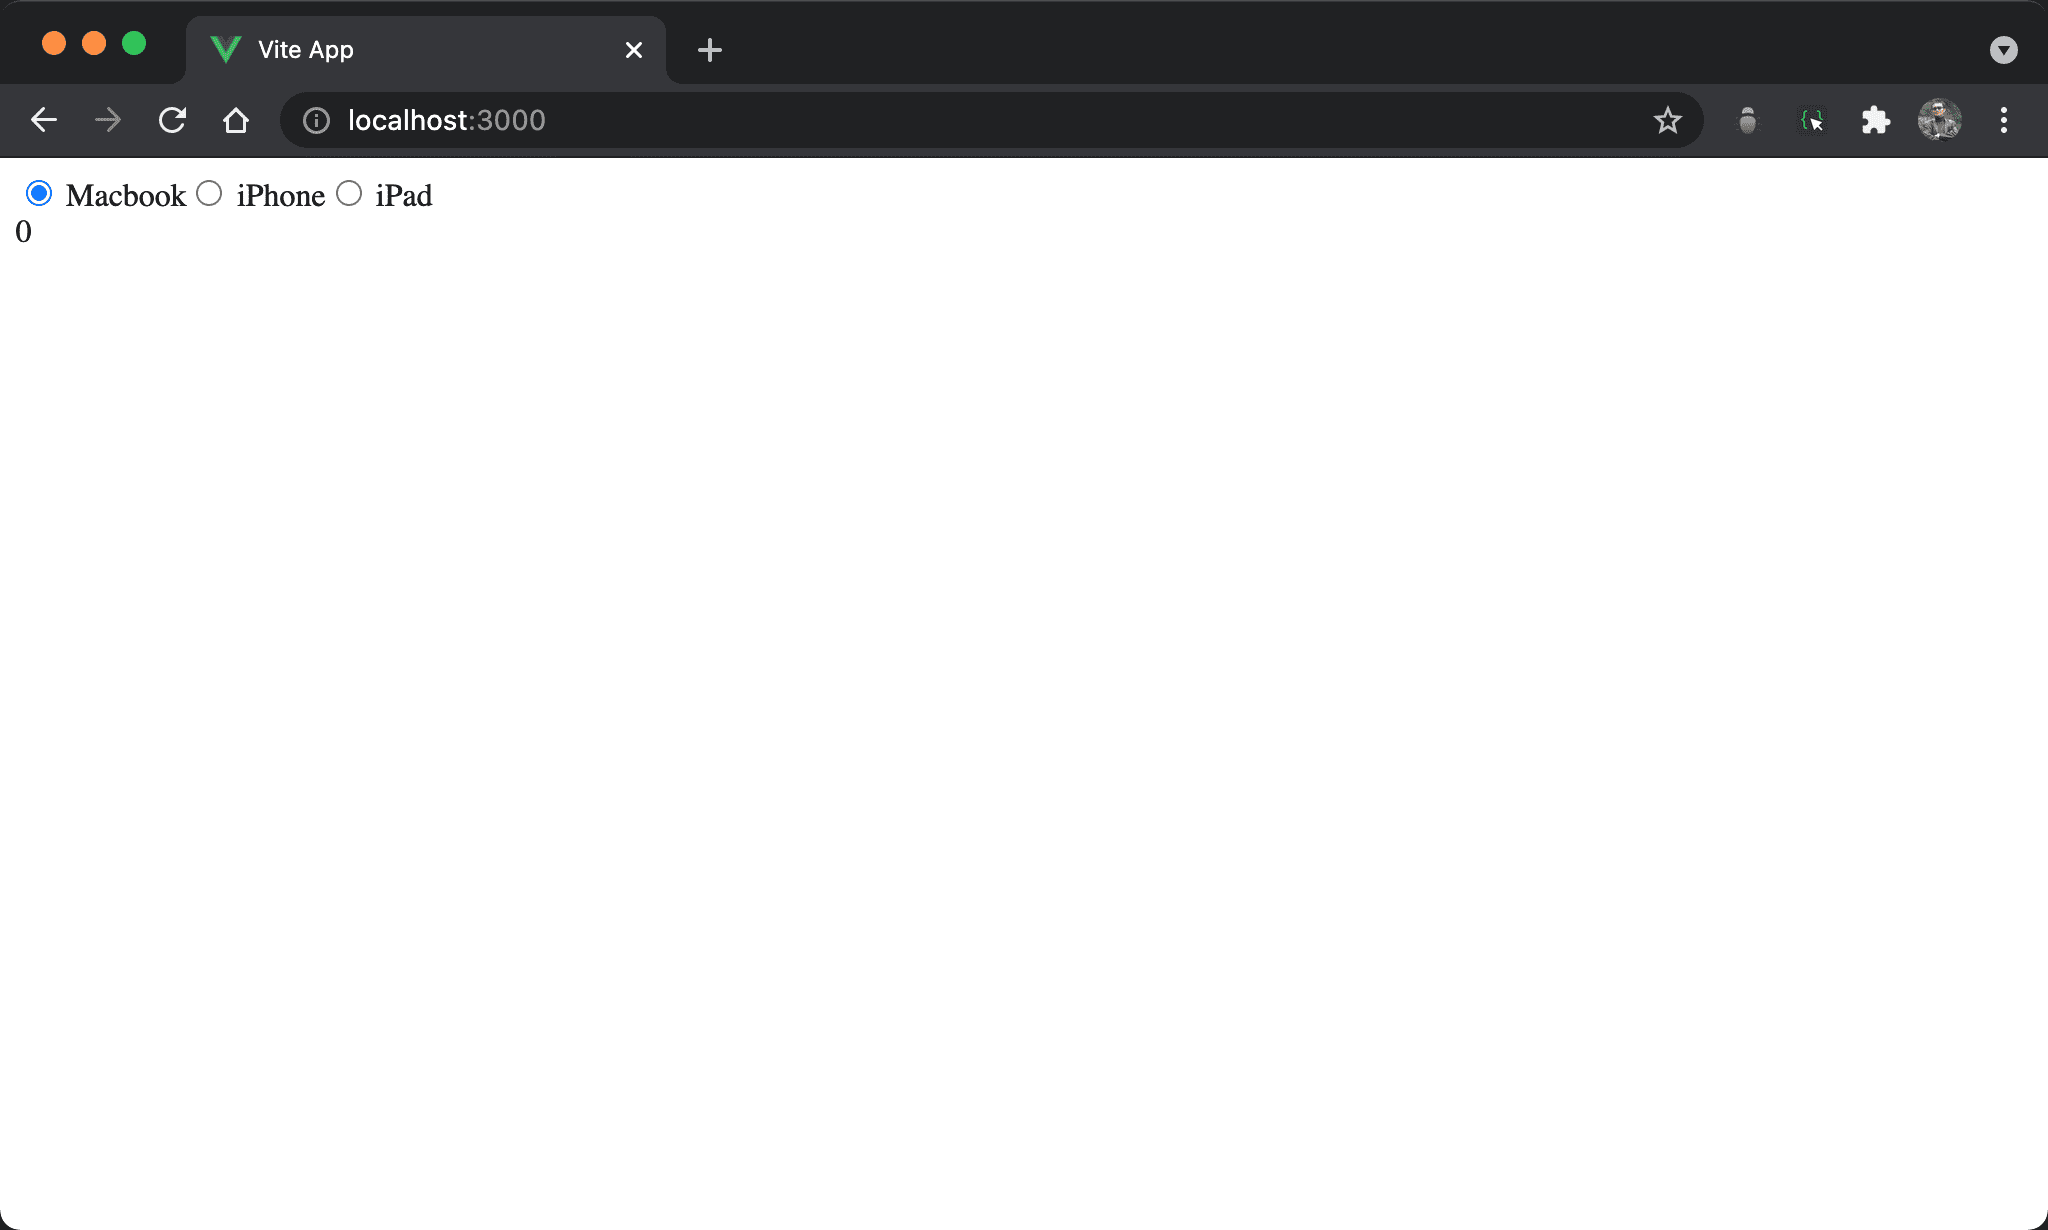
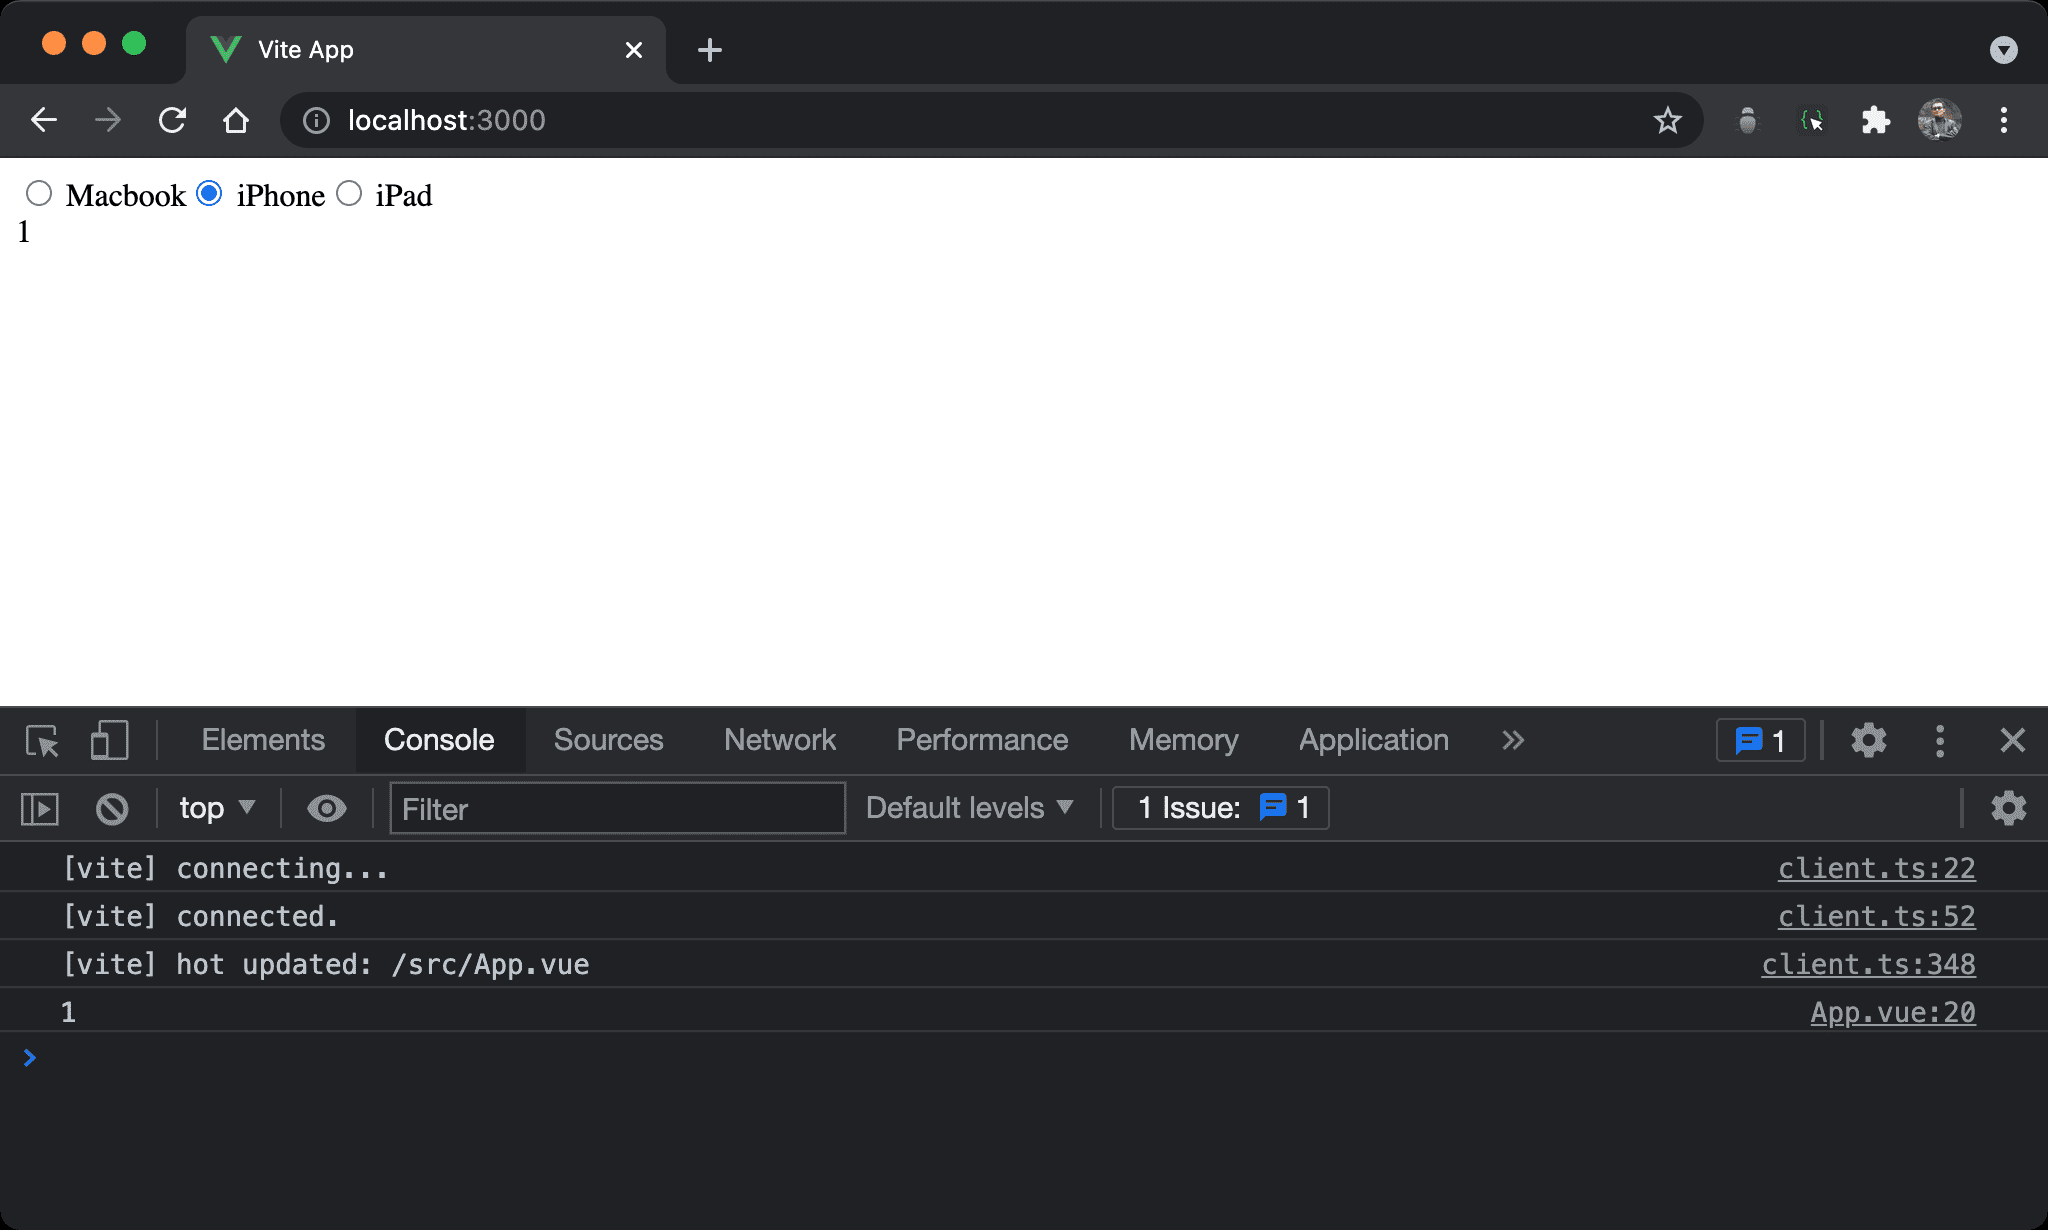
We can implement data binding with radio by v-for and $ref.
Version
Vue 3.2
Default Value

Data binding with default value on Radio.
<script setup>
let selected = $ref (0)

let apples = $ref ([
  { value: 0, label: 'Macbook' },
  { value: 1, label: 'iPhone' },
  { value: 2, label: 'iPad' }
])
</script>

<template>
  <label v-for='x in apples'>
    <input type='radio' :value='x.value' v-model='selected'>
    {{ x.label }}
  </label>
  <div>{{ selected }}</div>
</template>
Line 12
<label v-for='x in apples'>
  <input type='radio' :value='x.value' v-model='selected'>
  {{ x.label }}
</label>
Use v-for to generate value and label of <input type="radio">, and use v-model for data binding to selected.
We have to use the
nameattribute for each radio to bind to a single value but only use thev-modeldirective in Vue
Line 2
let selected = $ref (0)
Declare selected reactive variable and default value to bind to the radio.
Line 4
let apples = $ref ([
  { value: 0, label: 'Macbook' },
  { value: 1, label: 'iPhone' },
  { value: 2, label: 'iPad' }
])
Declare apples reactive variable for radio list.
@change

If we want to control the radio manually, we have to deal with the change event.
<script setup>
let selected = $ref (0)

let apples = $ref ([
  { value: 0, label: 'Macbook' },
  { value: 1, label: 'iPhone' },
  { value: 2, label: 'iPad' }
])

let onChange = e => console.log (e.target.value)
</script>

<template>
  <label v-for='x in apples'>
    <input type='radio' :value='x.value' v-model='selected' @change="onChange">
    {{ x.label }}
  </label>
  <div>{{ selected }}</div>
</template>
Line 15
<label v-for='x in apples'>
  <input type='radio' :value='x.value' v-model='selected' @change='onChange'>
  {{ x.label }}
</label>
Add @change to <input type="radio"> to deal with change event.
Line 10
let onChange = e => console.log (e.target.value)
In addition to getting selected value from the selected reactive variable, we can also obtain data from e.target.value.
Conclusion
- In this post, we conclude the most common use case for data binding with radio