若要在 Vue 使用 WebSocket,Vue-socket.io 提供了更簡易方式,只要在 Vue Instance 下的 sockets property 宣告與 event 同名的 function,即可在該 function 下實作 event handler。
Version
macOS Mojave 10.14.5
WebStorm 2019.1.3
Node 12.4
Express 4.17.1
Vue 2.6.10
Vue-socket.io 3.0.7
Chrome

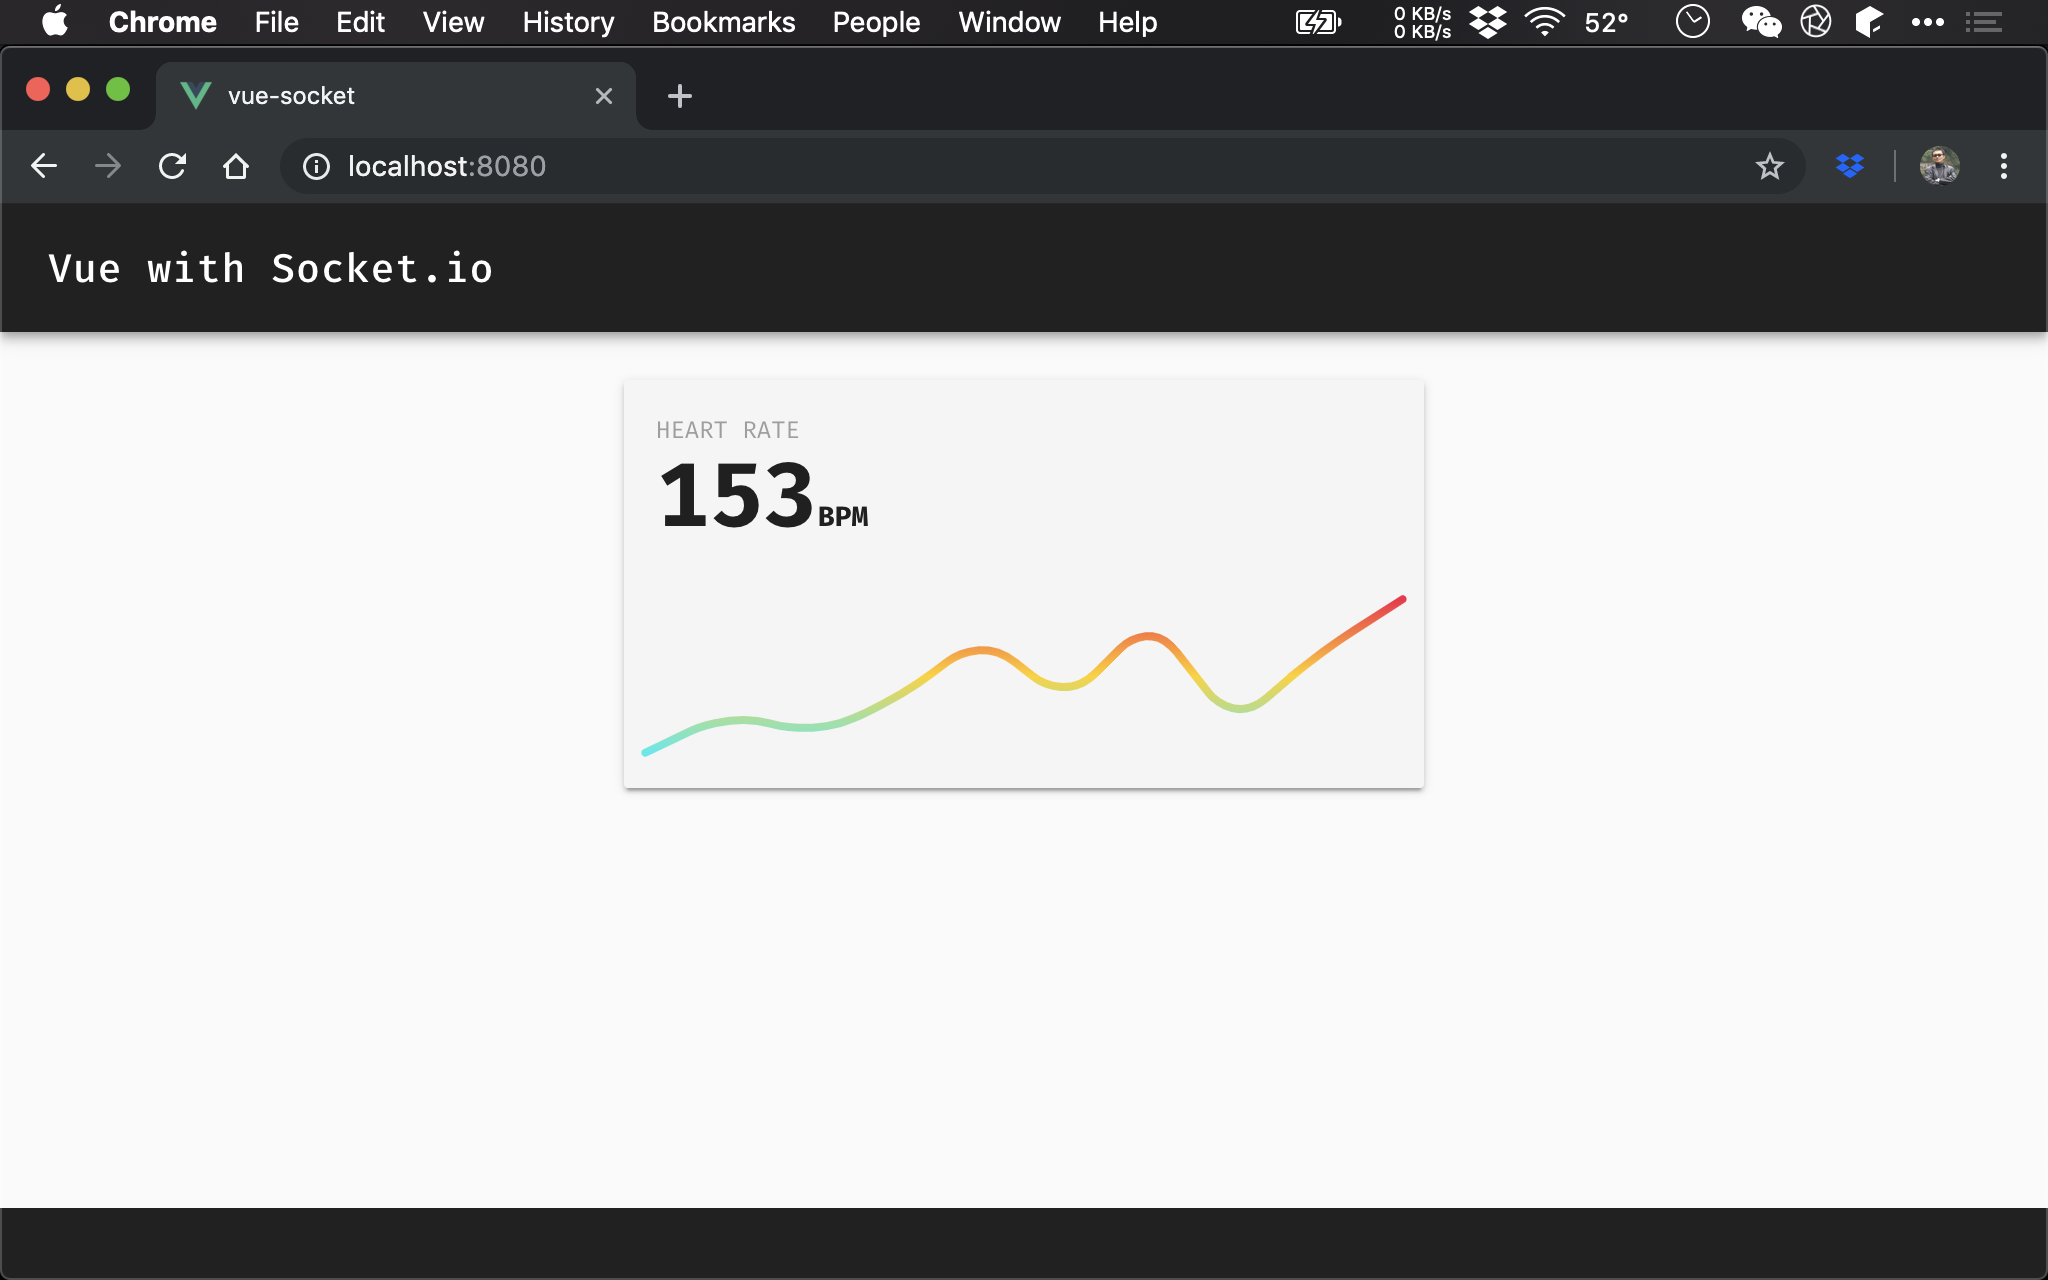
由 WebSocket server 送出的資料,會即時顯示。
Vue Project
$ vue create vue-socket
使用 Vue CLI 建立 project。
Dependency
$ yarn add vue-socket.io vuetify
另外安裝 vue-socket.io 與 vuetify。
- Vue-socket.io:在 Vue 使用 WebSocket
- Vuetify:GUI framework for Vue

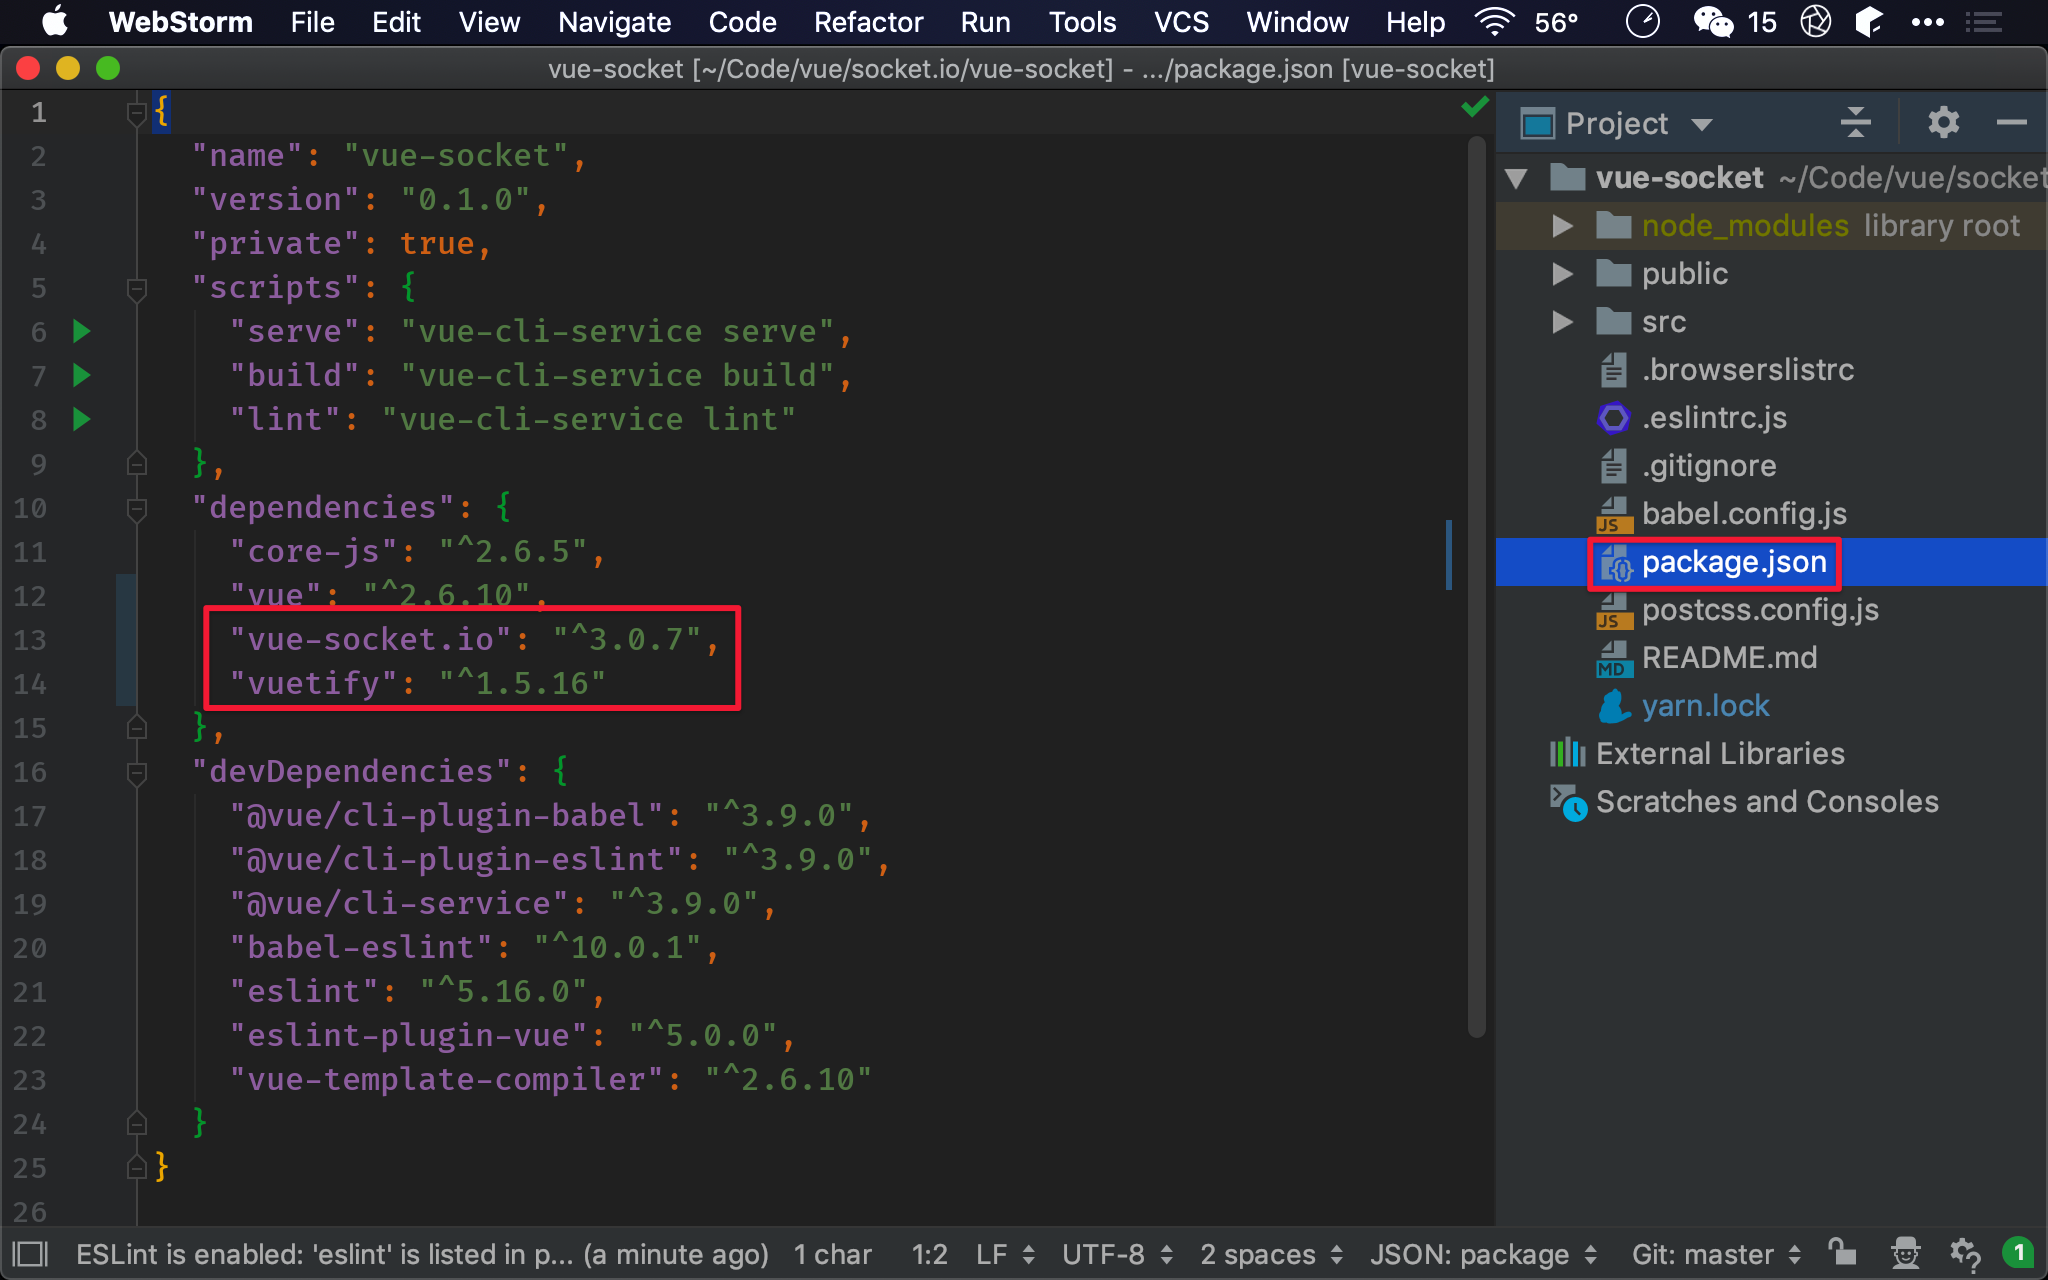
安裝完在 package.json 會看到 vue-socket.io 與 vuetify。
main.js
import Vue from 'vue';
import App from './App.vue';
import Vuetify from 'vuetify';
import 'vuetify/dist/vuetify.min.css';
import VueSocketIO from 'vue-socket.io';

Vue.use(Vuetify);
Vue.use(new VueSocketIO({
  debug: true,
  connection: 'http://localhost:8500'
}));

Vue.config.productionTip = false;

new Vue({
  render: h => h(App),
}).$mount('#app');
第 5 行
import VueSocketIO from 'vue-socket.io';
Import Vue-socket.io。
第 8 行
Vue.use(new VueSocketIO({
  debug: true,
  connection: 'http://localhost:8500'
}));
Vue 使用 Vue-socket.io。
- debug:設定為 true 會顯示較多錯誤訊息在 console
- connection:設定 WebSocket server 位置
App.vue
<template>
  <v-app>
    <v-toolbar dark fixed app>
      <v-toolbar-title>Vue with Socket.io</v-toolbar-title>
    </v-toolbar>
    <v-content>
      <v-container fluid>
        <v-layout row mb-4>
          <v-flex>
            <graph></graph>
          </v-flex>
        </v-layout>
      </v-container>
    </v-content>
    <v-footer dark></v-footer>
  </v-app>
</template>

<script>
import graph from "./components/graph.vue";

export default {
  components: {
    graph
  }
};
</script>
使用 Vuetify 提供的 toolbar 與 grid system。
graph.vue
<template>
  <v-card class="mx-auto" color="grey lighten-4" max-width="400">
    <v-card-title>
      <v-layout column align-start>
        <div class="caption grey--text text-uppercase">Heart rate</div>
        <div>
          <span class="display-2 font-weight-black" v-text="displayBeat || '—'"></span>
          <strong v-if="displayBeat">BPM</strong>
        </div>
      </v-layout>
    </v-card-title>
    <v-sheet color="transparent">
      <v-sparkline
        :smooth="16"
        :gradient="['#f72047', '#ffd200', '#1feaea']"
        :line-width="3"
        :key="displayBeat"
        :value="heartbeats"
        stroke-linecap="round"
      ></v-sparkline>
    </v-sheet>
  </v-card>
</template>

<script>
let heartbeat = () => Math.ceil(Math.random() * (120 - 80) + 80);

let takeInitialPulse = () => Array.from({ length: 10 }, heartbeat);

let pulse = function(beat) {
  this.heartbeats.push(beat);
  this.heartbeats.shift();
};

let displayBeat = function() {
  return this.heartbeats[this.heartbeats.length - 1];
};

export default {
  data: () => ({
    heartbeats: takeInitialPulse()
  }),
  sockets: {
    pulse
  },
  computed: {
    displayBeat
  },
};
</script>
使用 socket.io 繪製即時 dashboard。
40 行
data: () => ({
  heartbeats: takeInitialPulse()
}),
heartbeats data 初始值由 takeInitialPulse() 建立。
28 行
let takeInitialPulse = () => Array.from({ length: 10 }, heartbeat);
使用 Array.from() 建立 length 為 10 的 array,每個 element 值由 heartbeat() 產生。
26 行
let heartbeat = () => Math.ceil(Math.random() * (120 - 80) + 80);
亂數產生 heartbeat。
43 行
sockets: {
  pulse
},
原生 socket.io 需使用 socket.on() 去接收 event 與設定 event handler;在 Vue 只需在 sockets property 下宣告以 event 為名稱的 function 即可。
30 行
let pulse = function(beat) {
  this.heartbeats.push(beat);
  this.heartbeats.shift();
};
建立 pulse(),將 WebSocket 傳入的 beat 寫入 heartbeats array,並從 array 最前方 shift 掉 element。
17 行
<v-sparkline
  :key="displayBeat"
></v-sparkline>
<v-sparkline> 需要唯一值給 key props,由 displayBeat() computed 提供。
46 行
computed: {
  displayBeat
},
宣告 displayBeat() computed。
35 行
let displayBeat = function() {
  return this.heartbeats[this.heartbeats.length - 1];
};
定義 displayBeat(),為 heartbeats array 最後一個值。
Conclusion
- Vue-socket.io 善用 Vue 特性,比原生 socket.io 更容易使用
Sample Code
完整範例可在我的 GitHub 上找到
Reference
Mark Barton, Connect a Vue.js Component to a Socket.io server