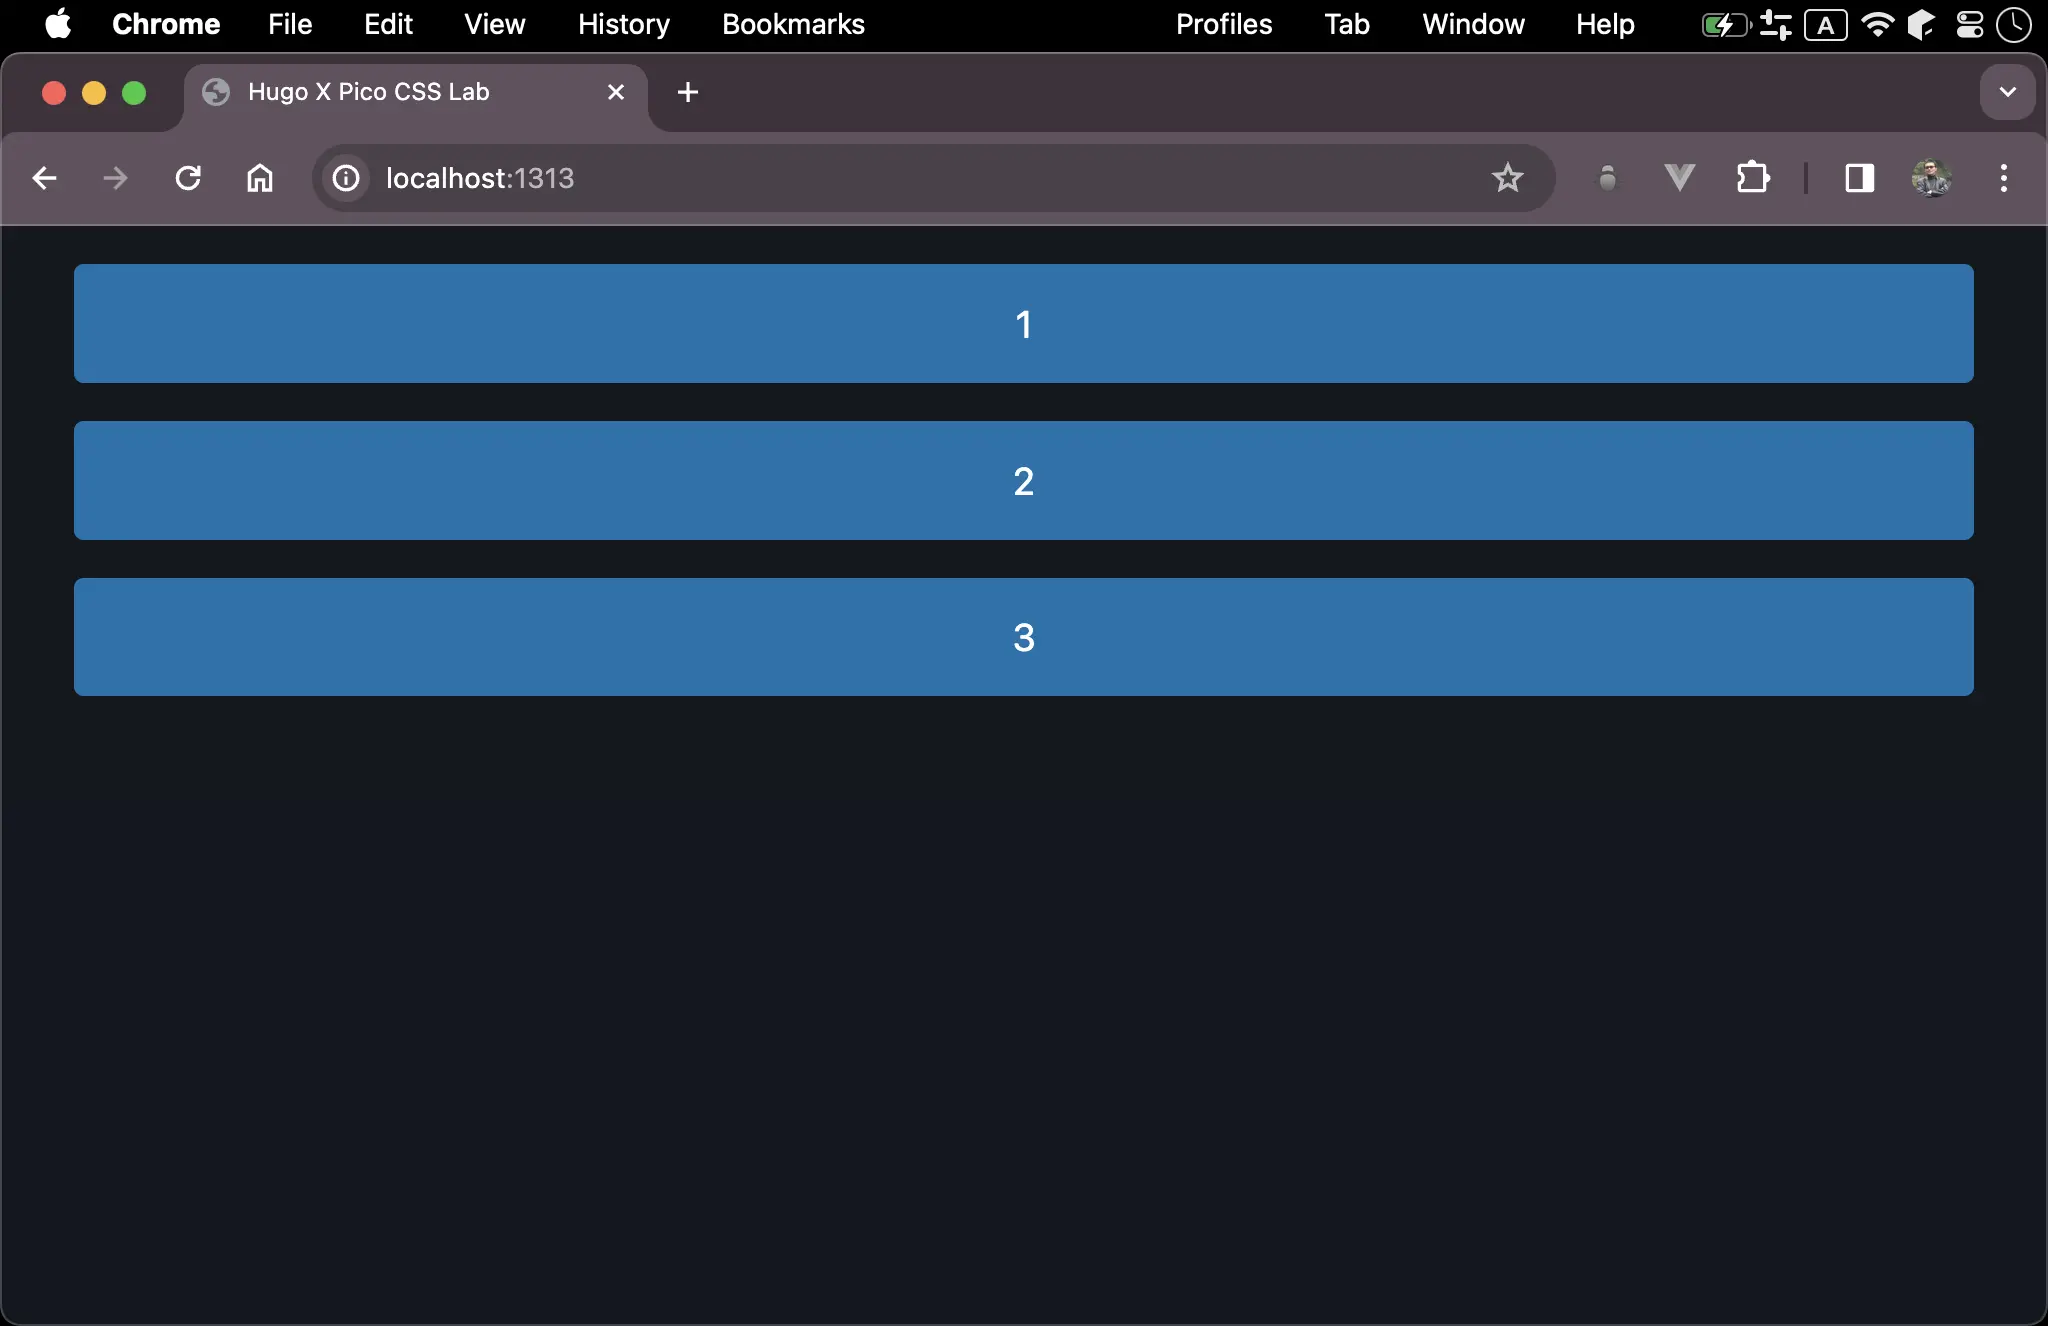
Pico CSS 為著名的 Classless CSS,特別適合 Blog、Document 之類應用,而 Hugo 也適合 Blog 與 Document,因此 Hugo 與 Pico CSS 可說是天作之合。
New Site
$ hugo new site hugo-pico --format json
- hugo new site : 以預設骨架建立 Hugo 站台
- –format json : 以 JSON 格式作為 Hugo 設定檔
Install Pico CSS
$ npm install @picocss/pico
- 使用 NPM 安裝 Pico CSS
Module Mounts
hugo.json
{
   "baseURL": "https://example.org/",
   "languageCode": "en-us",
   "title": "My New Hugo Site",
   "module": {
      "mounts": [
         {
            "source": "node_modules/@picocss/pico/css/pico.min.css",
            "target": "static/css/pico.min.css"
         }
      ]
   }
}
Line 5
"module": {
  "mounts": [
    {
      "source": "node_modules/@picocss/pico/css/pico.min.css",
      "target": "static/css/pico.min.css"
    }
  ]
}
- 將
node_modules目錄下的pico.min.cssmount 到static目錄下,只是邏輯上的 mount,並不是 copy 到static目錄下 - 因為 static 目錄下在 Hugo 可直接引用,所以直接將
pico.min.css複製到static目錄下使用上最方便 - 雖然在
static目錄下看不到 Pico CSS,但最後會將 Pico CSS publish 到public目錄下
Layout
layouts/index.html
<!doctype html>
<html>
  <head>
    <meta charset="UTF-8" />
    <meta name="viewport" content="width=device-width, initial-scale=1.0" />
    <link rel="stylesheet" href="css/pico.min.css" />
    {{ $title := "Hugo X Pico CSS Lab" }}
    <title>{{ $title }}</title>
  </head>
  <body>
    <main class="container">
      <input type="button" value="1" />
      <input type="button" value="2" />
      <input type="button" value="3" />
    </main>
  </body>
</html>
Line 6
<link rel="stylesheet" href="css/pico.min.css" />
- 直接引用
static目錄下的pico.min.css
Line 7
{{ $title := "Hugo X Pico CSS Lab" }}
<title>{{ $title }}</title>
- 定義 Go template 變數
- 顯示 Go template 變數
Line 11
<main class="container">
  <input type="button" value="1" />
  <input type="button" value="2" />
  <input type="button" value="3" />
</main>
<main>:在<main>使用containerlayout<input>:使用 HTML 原生的 Form Button

- Pico CCS 內建已支援 Light / Dark mode 與 Responsive
Conclusion
- Pico CSS 的美感就是對 HTML tag 提供 default style,讓我們可以在撰寫最少 CSS 下完成需求,且直接使用 Light / Dark mode 與支援 Responsive
- 因為
pico.min.css已經被壓縮過,因次不必將pico.min.cssmount 到assets目錄由 Hugo Pip 壓縮,只要 mount 到static目錄下即可