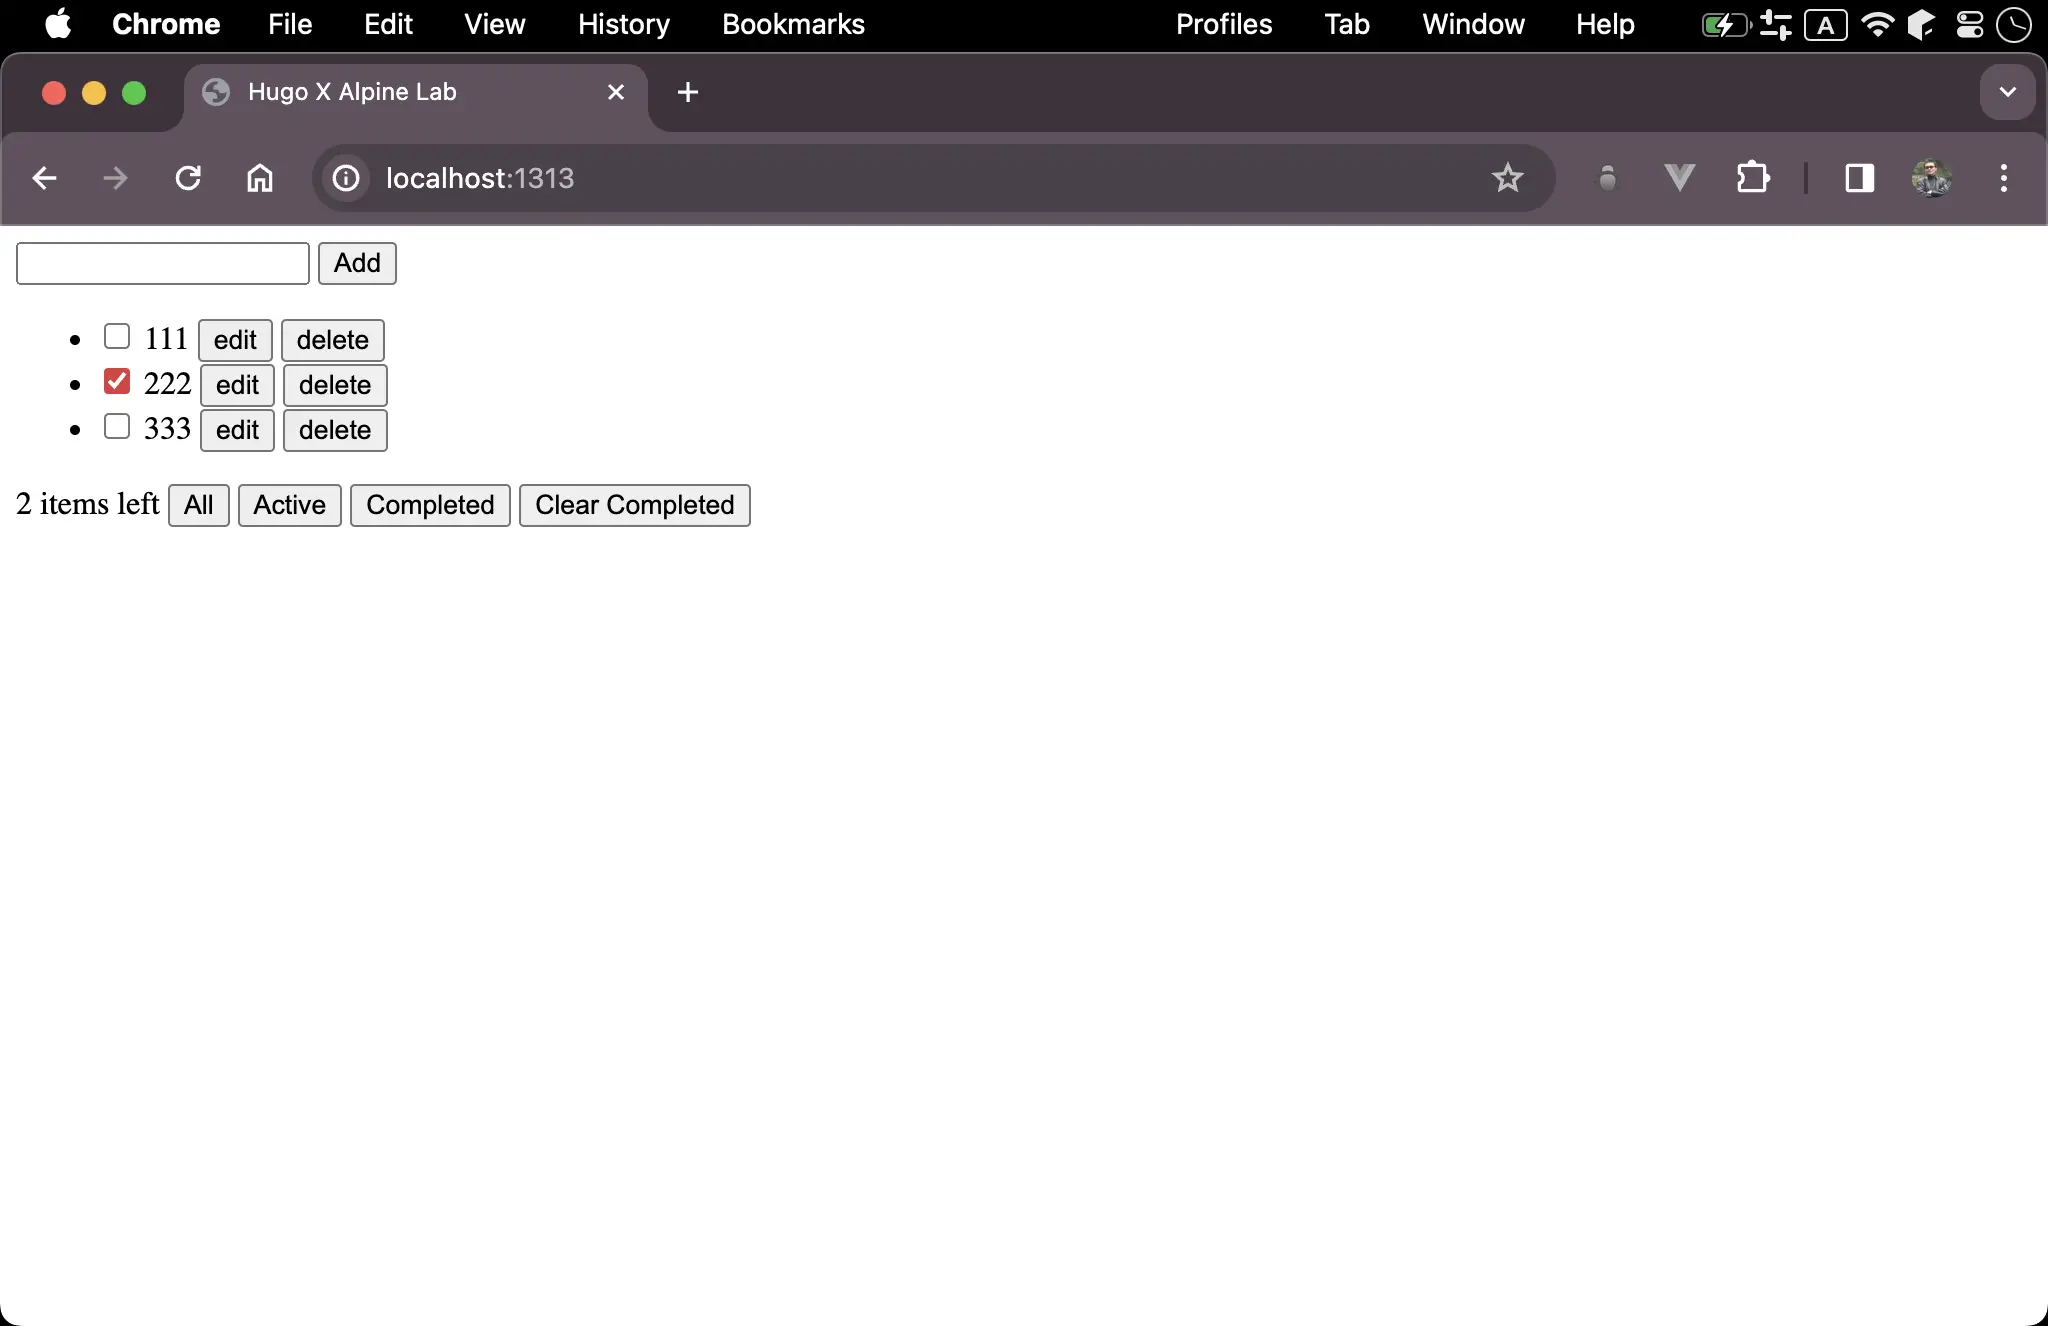
Todo List 常用來練習不同前端 Framework,直接在 Hugo 平台使用 Alpine 實現 Todo List。
Version
Hugo 0.121.2
Alpine 3.13.5
Todo List

<!doctype html>
<html>
  <head>
    <meta charset="UTF-8" />
    <meta name="viewport" content="width=device-width, initial-scale=1.0" />
    <script src="js/alpine.js" defer></script>
      {{ $title := "Hugo X Alpine Lab" }}
    <title>{{ $title }}</title>
  </head>
  <body x-data="{
    newTodo: '',
    todos: [],
    filter: () => true,
    get filteredTodos() { return this.todos.filter(this.filter) },
    get active() { return this.todos.filter(x => !x.isCompleted) },
    get completed() { return this.todos.filter(x => x.isCompleted) }
  }">
    <div>
      <input type="text" x-model="newTodo" />
      <button @click="
        if (!newTodo) return

        todos.push({ id: Symbol(), isCompleted: false, todo: newTodo })
        newTodo = ''
      ">Add</button>
    </div>
    <div>
      <ul>
        <template x-for="item in filteredTodos" :key="item.id">
          <li>
            <input type="checkbox" x-model="item.isCompleted" />
            <span x-show="!item.isEdit">
              <span x-text="item.todo"></span>
              <button @click="item.isEdit = true; item.todo_ = item.todo">edit</button>
              <button @click="todos = todos.filter(x => x.id !== item.id)">delete</button>
            </span>
            <span x-show="item.isEdit">
              <input type="text" x-model="item.todo_" />
              <button @click="item.isEdit = false; item.todo = item.todo_">save</button>
              <button @click="item.isEdit = false">cancel</button>
            </span>
          </li>
        </template>
      </ul>
    </div>
    <div>
      <span x-text="active.length"></span> <span>items left</span>
      <button @click="filter = () => true">All</button>
      <button @click="filter = x => !x.isCompleted">Active</button>
      <button @click="filter = x => x.isCompleted">Completed</button>
      <button x-show="completed.length" @click="todos = active">Clear Completed</button>
    </div>
  </body>
</html>
Line 11
newTodo: '',
todos: [],
- 在
x-data內宣告 state newTodostate :儲存新輸入的 todotodosstate:儲存所有 todo
Line 13
filter: () => true,
get filteredTodos() { return this.todos.filter(this.filter) },
- 在
x-data內宣告 state 與 getter filterstate:儲存All、Active與Completed所需的 filter functionfilteredTodosgetter:當todo改變時,filteredTodosgetter 會 reactive 跟著改變,只顯示所有目前filterstate 的 filter function 所指定的 todo
Line 15
get active() { return this.todos.filter(x => !x.isCompleted) },
- 在
x-data內宣告 getter activegetter:當todostate 改變時,activegetter 會 reactive 跟著改變,只顯示所有未完成todo
Line 16
get completed() { return this.todos.filter(x => x.isCompleted) }
- 在
x-data內宣告 getter completedgetter:當todostate 改變時,completedgetter 會 reactive 跟著改變,只顯示所有已完成todo
Line 19
<input type="text" x-model="newTodo" />
x-model:將欲輸入的新 todo 以 綁定到newTodostate
Line 20
<button @click="
  if (!newTodo) return

  todos.push({ id: Symbol(), isCompleted: false, todo: newTodo })
  newTodo = ''
">Add</button>
- 新增一筆 todo,並直接將 click event handler 的代碼寫在 HTML 內
- 使用
push新增todoarray - id 使用 Symbol() 實現 UUID
Line 28
<ul>
  <template x-for="item in filteredTodos" :key="item.id">
    <li>
      <span x-text="item.todo"></span>
    </li>
  </template>
</ul>
x-for:列舉filteredTodosgetterx-text:將 data 綁定顯示
x-for必須寫在<template>內
Line 31
<input type="checkbox" x-model="item.isCompleted" />
x-model:將 checkbox 以綁定到item.isCompleted
Line 32
<span x-show="!item.isEdit">
  <span x-text="item.todo"></span>
  <button @click="item.isEdit = true; item.todo_ = item.todo">edit</button>
  <button @click="todos = todos.filter(x => x.id !== item.id)">delete</button>
</span>
x-show:若是非編輯模式,則直接顯示 todo- Button 此時為
edit與delete - 在 item 下新增
isEditproperty 為true表示為編輯模式,此時 button 會改為顯示save與cancel - 在 item 下新增
todo_property 作為臨時 state,並將目前toto值寫入todo_,作為綁定<input>用 - 使用
filter()取代splice()刪除 array 中的 element
由於 JavaScript 為
動態語言,我們可對 Object 動態新增 property 作為臨時變數,此為 JavaScript 慣用手法
Line 37
<span x-show="item.isEdit">
  <input type="text" x-model="item.todo_" />
  <button @click="item.isEdit = false; item.todo = item.todo_">save</button>
  <button @click="item.isEdit = false">cancel</button>
</span>
x-show:若是編輯模式,則以<input>顯示 todo,注意此時v-model綁定到item.todo_而非item.todo,此為儲存暫時的 todo,主要為了cancel所用- Button 此時為
save與cancel - 將 item 的
isEdit設定為false表示為非編輯模式,此時 button 會改為顯示edit與delete - 因為目前編輯的
<input>綁定到item.todo_,將資料從item.todo_複製到item.todo完成儲存
Line 47
<span x-text="active.length"></span> <span>items left</span>
- 顯示目前尚未完成的 todo 筆數
Line 48
<button @click="filter = () => true">All</button>
- 顯示所有 todo,直接提供 filter function
Line 49
<button @click="filter = x => !x.isCompleted">Active</button>
- 顯示尚未完成 todo,直接提供 filter function
Line 50
<button @click="filter = x => x.isCompleted">Completed</button>
- 顯示已完成 todo,直接提供 filter function
Line 51
<button x-show="completed.length" @click="todos = active">Clear Completed</button>
x-show:若有已完成 todo,則顯示Clear Completedbutton- 看起來好像是刪除 completed todo,其實只要將 active todo 指定給
todosstate 即可
Conclusion
- Alpine 其實並不需如 Vue 一樣將 HTML 與 JavaScript 分開,可直接如 Tailwind CSS 寫在 HTML 即可
- Getter 也算廣義的 data,所以寫在
x-data內 - Alpine 的
x-show比x-if好用,x-if還要多一層<template> - 若以 FP 風格開發 JavaScript,常常只有一行而已,這種寫在 HTML 剛剛好
- Alpine = FP + HTML 算 coding style 最高境界,且實作也非常精簡,包含 HTML 僅需 54 行而已